Showing posts with label beginner. Show all posts

Friday, 10 January 2014

Pole Position - Polaris


Finding your way around the stars can be quite a bewildering prospect. To make things easier the stars visible in the night sky are divided up into patterns – the constellations. It’s not the only way of navigating around, but recognising constellations does make finding things easier. This week we’re going to use one of the most famous constellations in the sky to find the most important star of all to humans – Polaris.

Actually, I say most important, really there is one other star that is far more important than all of them. Our own sun is a star, and it’s the only star we can see close enough to work out what stars really are.
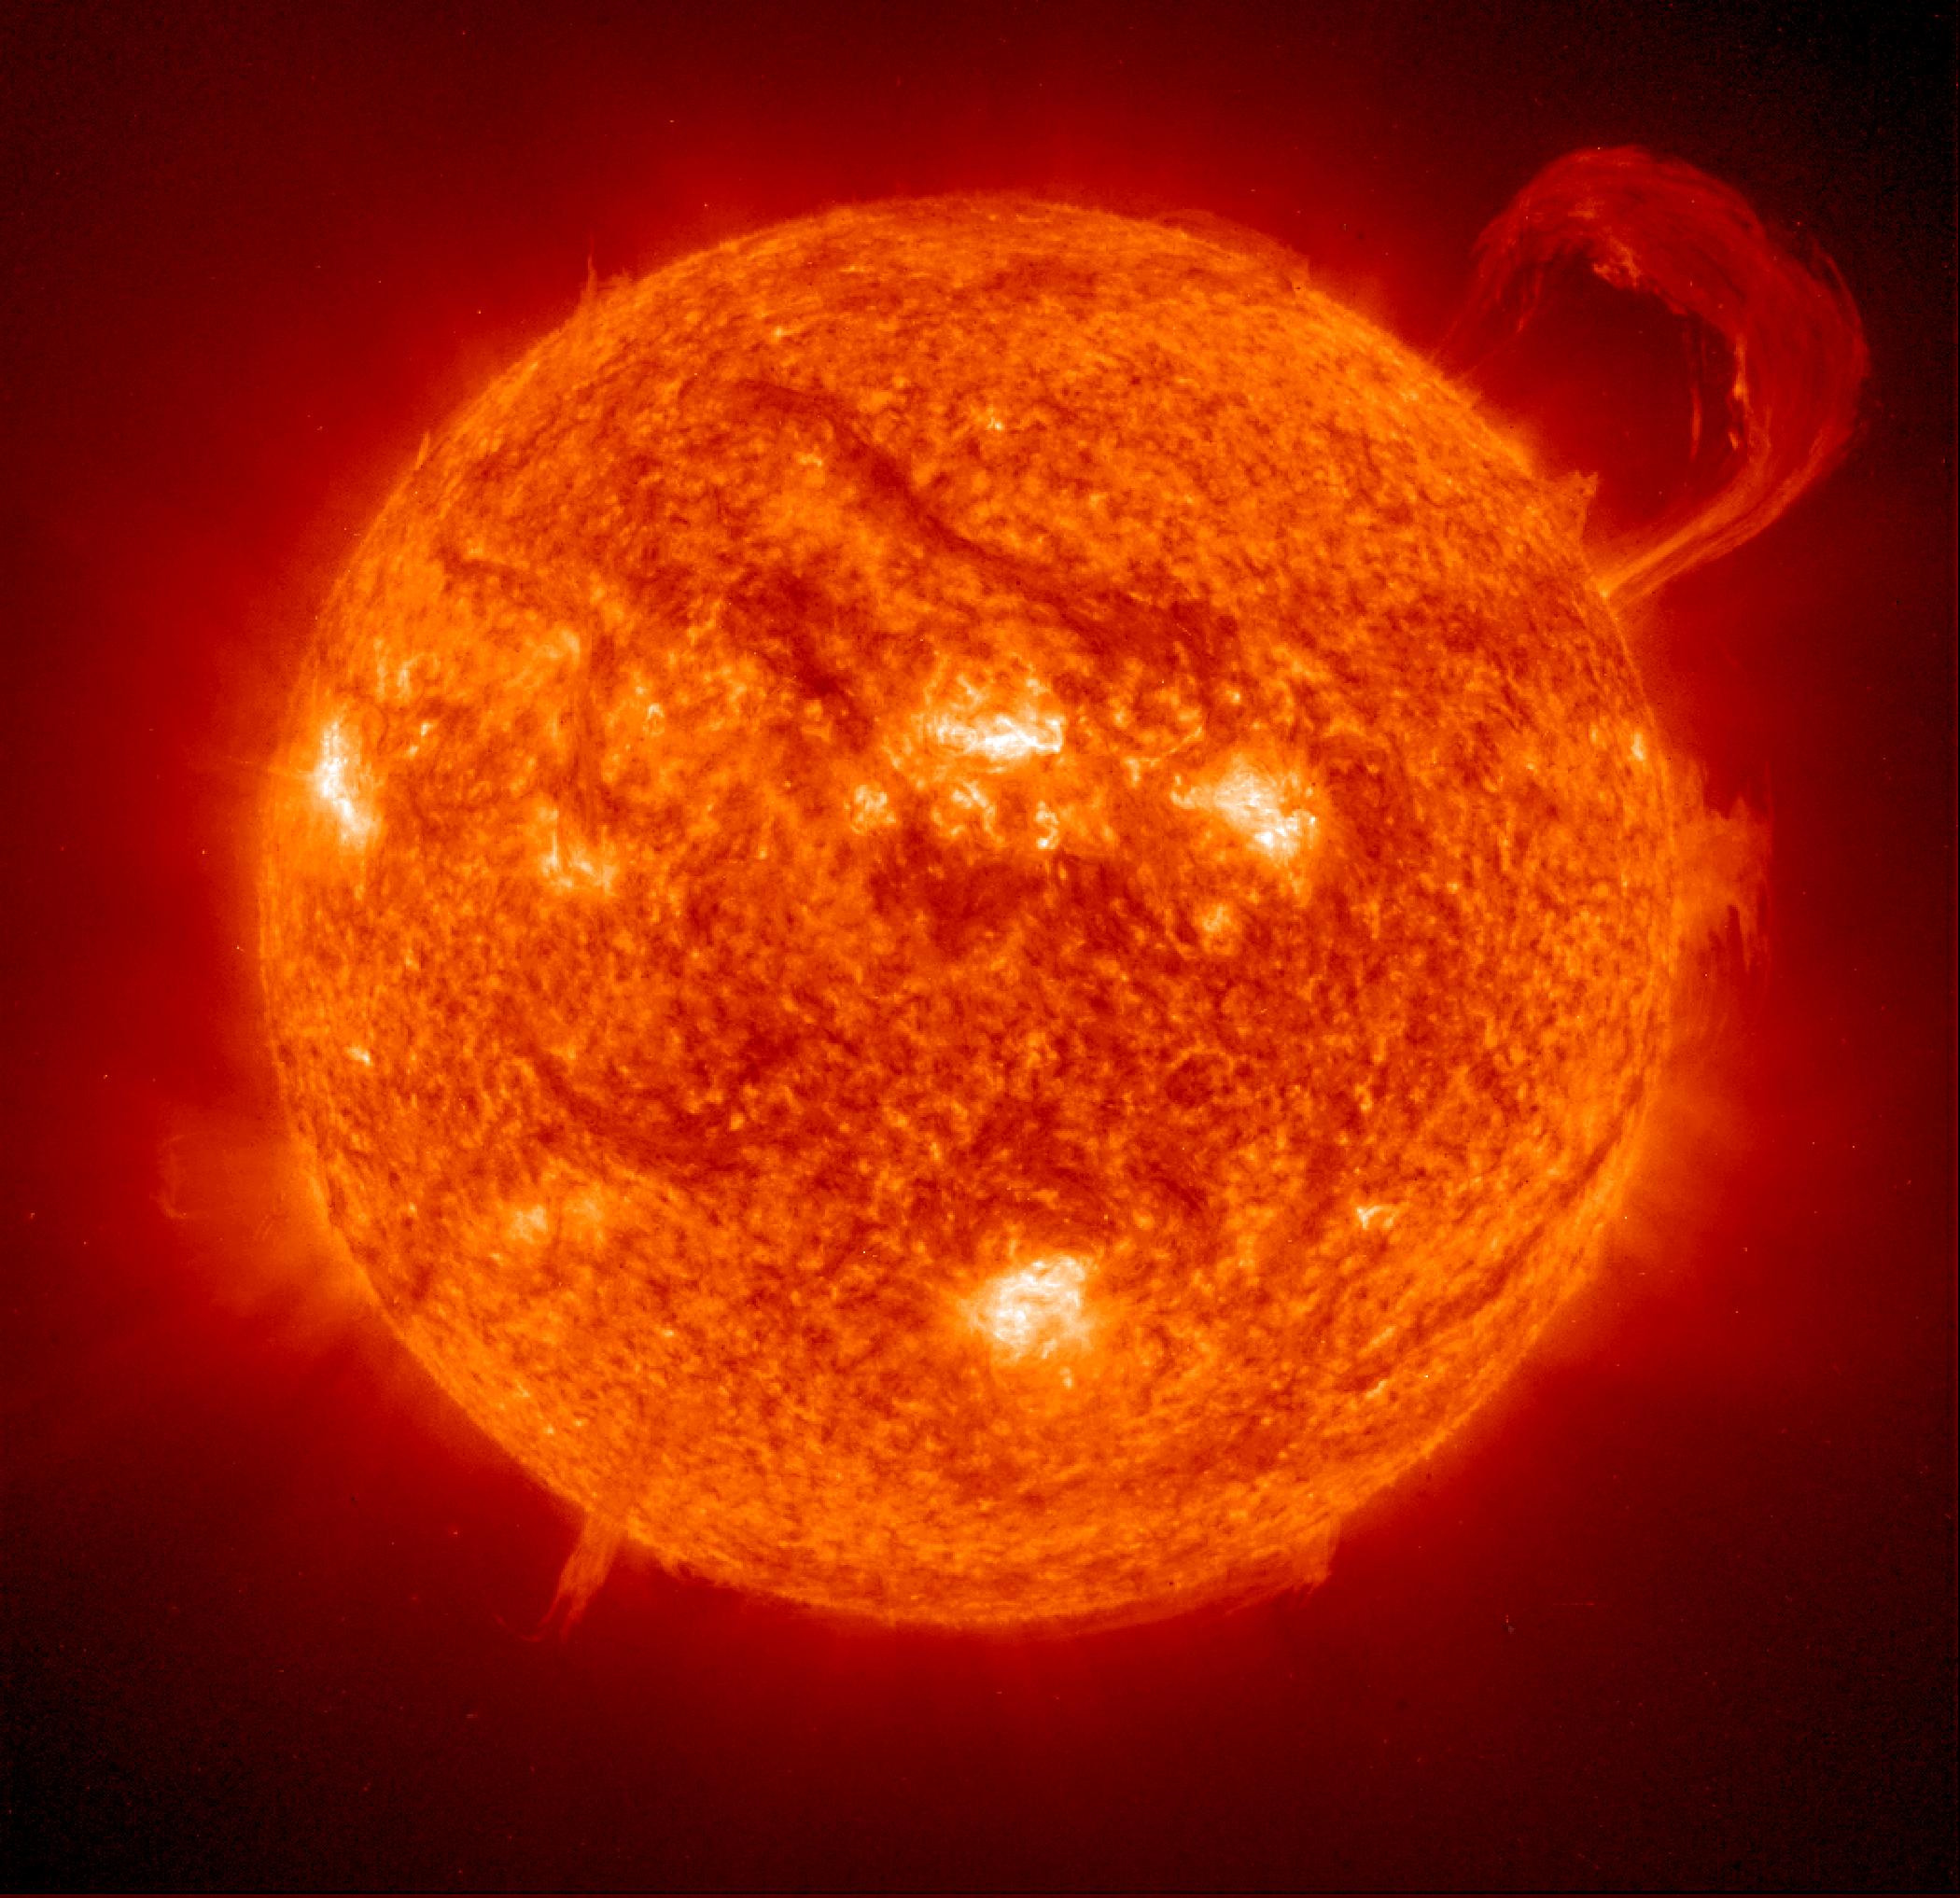
 
Credit: NASA/JPL

The sun is, in effect, a giant nuclear explosion in space. It’s so enormous that it has about 10 million years worth of its primary fuel inside it. Inside stars, atoms of hydrogen are pushed together at enormous temperature and pressure so that they fuse. This nuclear fusion process generates heat and light, and as a by-product helium.

Not all stars are the same – the sun is classed as a dwarf star, pretty small in the grand scheme of things. There are much larger stars out there and also much smaller – many of these we may meet over the coming months. They also come in a variety of colours – looking around now you might spot bright red Betelgeuse, yellow Capella or blue-white Rigel.

Stars are grouped by us into constellations. These groupings aren’t physically associated with each other or even close to each other in space – often they’re separated by many thousands of light years. But they’re a useful way of dividing up the night sky and learning them is both fun and useful. There are a few that are little more than a couple of faint stars but many are very bright and recognisable.

This week we’re going to use one of the most recognisable patterns – the Plough (Actually an asterism, a group of stars within a constellation) – to help us find the North Pole, handily marked by Polaris, the pole star.

Naked Eye
Finding Polaris is one of the most useful astronomical skills you can learn. The star is at the North Celestial Pole so being able to find it allows you to find out which way is north.
To do it you first have to locate the Plough – this is a group of seven stars that forms most of the constellation of Ursa Major. Once you’ve found the Plough, look for the two stars at the front of the shape. If you take a line through these two, from bottom to top, and keep following it, they point to Polaris.

 
Finding Polaris


Polaris is the brightest star in Ursa Minor, the little bear. It’s a faint constellation of seven stars – the number of other stars visible can give an indication of how dark the night is.

Binoculars and Telescope
There’s not a whole lot to see of Polaris through binoculars, and the situation is the same through a 3’’ telescope. However at high magnification Polaris yields a surprise. Next to it, you may be able to make out a faint star. This is because Polaris isn’t one star, it’s two. Double stars are actually fairly common, although Polaris is maybe not an ideal example: the faint companion star is drowned out by the glare from Polaris. We’ll look at a better example of one in a bit more depth next week.

n.b. I had originally envisaged using sketches to illustrate this blog. Unfortunately my scanner is not yet working, so we'll have to stick with these simple paint images for now.

Friday, 3 January 2014

By Jove! - Jupiter


There are so many people who want to find out more about the universe but are put off astronomy for one reason or another.Well re-write your resolutions because, by the end of this year, if you follow this weekly blog you’ll have grasped the basics of observational astronomy. You don’t need a telescope (Binoculars are handy), you can do this from a city and all you need is half an hour a week and some warm clothes.
Dipping your toe into the wonders of the universe can be daunting. The sky is a bewildering place, and finding your way around does take practise. People are also often put off because they’re expecting to see an image that looks something like this:

Credit: NASA/JPL

Of course through even a decent sized Earth-based telescope you'll never get that level of detail, but there's still lots to enjoy out there.

It happens that we’re going to start off with Jupiter. There are two reasons for this – firstly because it’s easy to find, and secondly because it’s pretty damned cool, even if it doesn’t look quite like the image above.

So, how to find it:

Naked Eye
At 9.30pm, look up high towards the West – Jupiter is the brightest thing you can see. In fact it’s the fourth brightest thing in the sky, after the Sun, Moon and Venus. Its colour is striking with the naked eye, a vivid yellow.
There are two ways to recognise something bright and shiny in the sky as being a planet:
1 – Stars twinkle, due to the movements of our atmosphere. Planets do not.
2 – Planets move around the sky, relative to the stars. That’s why they’re called Planets; the word means “Wanderer.” As a consequence of this, if you read this article after January 2014, Jupiter won’t be in the same position – it moves by roughly one zodiacal constellation per year. At the moment it’s in the constellation of Gemini, but in 2015 it’ll be moving through Cancer and Leo. We won’t worry too much about constellations for now – Jupiter is bright enough that it’s hard to mistake for anything else.

Binoculars
Look at Jupiter through a pair of binoculars and things get interesting. You’ll see four small pin-pricks of light strung out in a line beside it. These are the four brightest moons of Jupiter: Io, Europa, Ganymede and Callisto.

Every time you look at Jupiter they’ll have shifted around slightly with some of them occasionally going behind or in front of the planet. The Voyager space probes revealed a wealth of information about these worlds, but they were first discovered by Galileo using a telescope.

Telescope
Jupiter is by far my favourite planet for telescopic observation. The moons are clearly there and, with a big enough telescope, it is possible to watch them silhouetted against the disc of the planet when they pass across it – a transit.
The disc itself reveals a lot of detail – even relatively small instruments show a series of dark bands running across the planet’s surface - the cloud belts. In my 3’’ refractor the largest of these, the north and south equatorial belts, are most easily seen. The bigger the ‘scope the more detail you get, and it’s possible to see the wisps and curls of the clouds of gas as they interact with each other, and the famous Great Red Spot, an enormous storm the size of our own planet.

Jupiter is the largest planet in our solar system. In fact it weighs two and half times as much as all the other planets combined. Landing there would be tough – it’s mostly made up of a mixture of gases, all of which are rather unpleasant. For example its clouds are full of hydrogen sulphide, the gas that gives rotten eggs and flatulence their characteristic smell. Even if you went a little way into the clouds, your body would swiftly be crushed by the weight of gas above you. The gravity of the planet is so intense that it squeezes the core of its closest moon, Io, causing massive vulcanism. It's not a place to consider for a holiday either - the intense radiation would bake you if you were to get too close to it. Probably worse for you even than sunbeds.

That's it for this week - next time I'm going to describe how to find the most useful star in the entire night sky: Polaris.

Monday, 2 December 2013

Choose Your Weapon!


The most bewildering question for a budding amateur is which telescope to buy. Really, your first question should be, “Do I need a telescope?” Often the answer is no. This blog is intended to be an introduction to observational astronomy, so you don’t need a telescope to follow it. For anyone who does want a 'scope, here are my thoughts on this perennial question.

The best telescope is the one that you get out and use. Rather than rehashing information about types of telescope, I’m going to talk about my own equipment. Shop around for your perfect instrument; visit a star party or observing event so you can look down some ‘scopes and see how big they are in the flesh. Let's start by considering the most frequently recommended telescope.

Use a web forum like Stargazer’s Lounge, ask “What is the best telescope for a beginner?” and the answer always comes out the same – the best instrument for the beginner, by a mile, is an 8’’ Dobsonian. The Dobsonian mount is alt-azimuth – basically it has two axes: left and right, up and down. Very simple to use, they offer a large aperture at a low price. Aperture, if you’re not down with the jargon, is the width of the hole and hence the optics, in this case a mirror at the bottom of the tube. They cost under £300, are large enough to access thousands of objects and show lots of detail. They are brilliant.

But there's a snag.

They weigh in at 23kg. My main observing site is a park 500 yards from my flat. Even if I manage to wrestle the damn thing outside, I’m not going to get it to the park on foot. Therefore an 8’’ Dobsonian would be the wrong choice for me.

Here’s my ‘scope:

Lots of fun to be had at night in the park! This is on a spotter scope tripod borrowed from work - a nice option for a simple mounting, but you can't point it at the zenith (i.e. straight up).

This is a Skywatcher Startravel 80, a wide-field refractor. Refractors are the classic telescope design, using lenses to collect and focus light. 3'' is small but at around 6kg in weight I can actually get it to where I want to use it. So for me it’s perfect. It has its cons: the aperture is small, so I can’t find as much as I’d like, it suffers from false colour and it’s a short focal length telescope – that means it’s great for large things, but doesn't magnify much, so it’s less suited to looking at planets. Here's a low-quality snap of Saturn to give you an idea, taken using my wife's iPhone through the eyepiece:

n.b. when I was looking down the eyepiece we could see the rings and their shadow cast on the planet!


Mine is equatorially mounted, tilted so that it can track objects as they move across the celestial globe. These mounts do take some getting used to; I learned to handle one a long time ago and wouldn’t want it any other way, but it's not as intuitive as the Dobsonian.

What is a small ‘scope like this capable of?
  • The Moon – plenty of detail to be seen, although not as fine as a larger scope
  • Planets – not its forté; see the above photo
  • Star clusters, nebulae and galaxies – Only the brightest are visible. Some objects require a dark sky too. You can forget seeing spiral arms of galaxies, but its brilliant on big star clusters, and the wide-field of view makes it easy to find stuff.
They cost roughly £130, so they won’t break the bank either.

If you’re looking for something for a child, then consider one of the Tabletop Dobsonian designs, such as the Heritage 130P, a good choice for portable astronomers too. The Dobsonian mounting is easy to use, at 6kg it's light enough to be handled independently and with 5’’ of aperture it'll show enough detail they won't get bored after five minutes.

I also use a pair of Nikon 10x40 binoculars. I’m not a fan of binoculars for astronomy because I can't hold them still enough, but if you’re a casual observer and want something ultra-portable, they’re great. They’re also brilliant for learning the sky. In this blog I’ll talk a lot about the view through binoculars, and even a small pair will show you plenty. For children under eight, don’t bother with a telescope for now, get them binoculars instead. That way they can learn the sky and you can see whether its a lasting passion or a passing fad for them!

For further information, try one of the following links: